> ## Documentation Index
> Fetch the complete documentation index at: https://docs.piebald.ai/llms.txt
> Use this file to discover all available pages before exploring further.
# MCP servers
export const MuxVideo = ({playbackId, title = "Video demo"}) => ;
## Configuring/setting up MCP servers
### Remote/HTTP MCP servers
Available in Piebald Basic (Free)
In addition to local MCP servers that run on your machine, Piebald also supports **remote MCP servers** (also known as **HTTP MCP servers**).
To add a new remote MCP server:
1. Go to **Settings → MCP Servers**.
2. Click **Add → Add Server**.
3. Enter a name.
4. For **Transport Type**, select **HTTP**.
5. Enter the MCP server URL (e.g. for Context7, `https://mcp.context7.com/mcp`).
6. If the server requires authentication, and you want to authenticate immediately, click **Create & Authenticate**; otherwise, click **Create Server**.
7. If the server requires authentication and you haven't authenticated, the MCP server will show a yellow "Auth Required" badge. If you want to authenticate the MCP server, click the More button (the three dots) and choose **Authenticate**.
You can also add an MCP server by pasting conventional `mcpServers` config JSON.
1. Go to **Settings → MCP Servers**.
2. Click **Add → Paste JSON**.
3. Paste your JSON.
### Headers and manual OAuth configuration
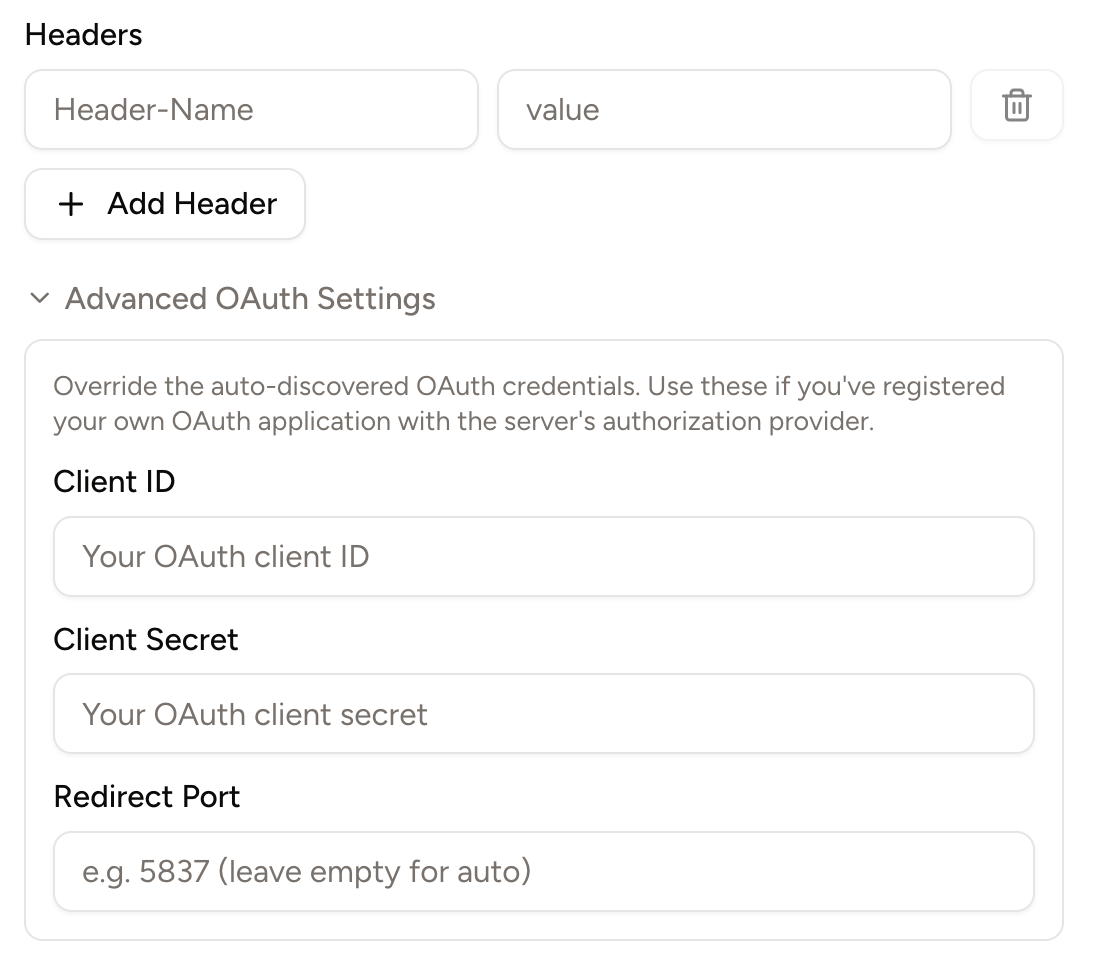
You can configure remote MCP servers with a few configuration options:
* Headers
* Client ID
* Client Secret
* Redirect port
 #### Customizing redirect port
When you sign into an MCP server with OAuth (e.g. GitHub, Figma, or Notion), the MCP signin process needs to know what URL to redirect to so it can send the new login information back to Piebald. In Piebald, this URL is
`https://piebald.ai/desktop/redirect?code=...&state=...`. The page at this URL, in turn, redirects you to a local, temporary web server automatically started by Piebald. The URL to this temporary web server is contained in the `state` parameter in the URL above.
By default, the local temporary web server uses a random port (e.g. `localhost:3842`, `localhost:18502`, etc.). To prevent a random port from being selected, you can set the **Redirect Port** setting to a static port, which will be used every time you authenticate that MCP server. If another process is already running on that port, you'll need to kill the process or change the port before you can authenticate.
### MCP tools
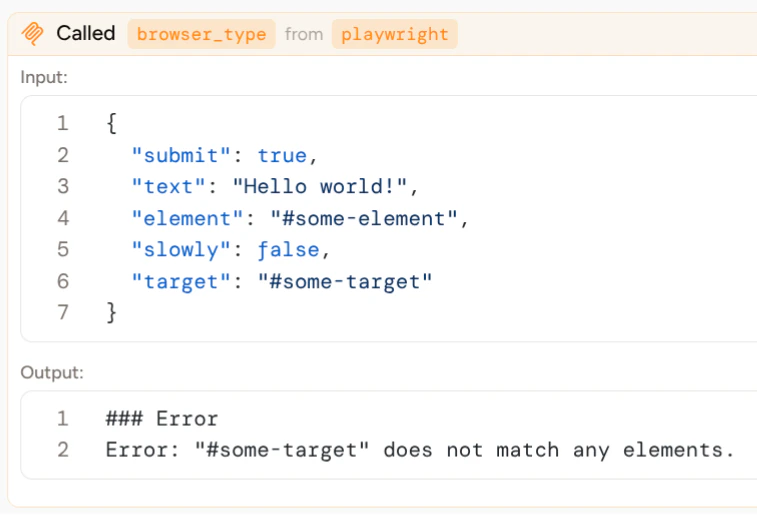
When an LLM calls an MCP tool, Piebald checks if the input and output are JSON and formats and syntax-highlights them if so. If it's not JSON, it will be displayed as normal text:
#### Customizing redirect port
When you sign into an MCP server with OAuth (e.g. GitHub, Figma, or Notion), the MCP signin process needs to know what URL to redirect to so it can send the new login information back to Piebald. In Piebald, this URL is
`https://piebald.ai/desktop/redirect?code=...&state=...`. The page at this URL, in turn, redirects you to a local, temporary web server automatically started by Piebald. The URL to this temporary web server is contained in the `state` parameter in the URL above.
By default, the local temporary web server uses a random port (e.g. `localhost:3842`, `localhost:18502`, etc.). To prevent a random port from being selected, you can set the **Redirect Port** setting to a static port, which will be used every time you authenticate that MCP server. If another process is already running on that port, you'll need to kill the process or change the port before you can authenticate.
### MCP tools
When an LLM calls an MCP tool, Piebald checks if the input and output are JSON and formats and syntax-highlights them if so. If it's not JSON, it will be displayed as normal text:
 #### Images returned by MCP tools
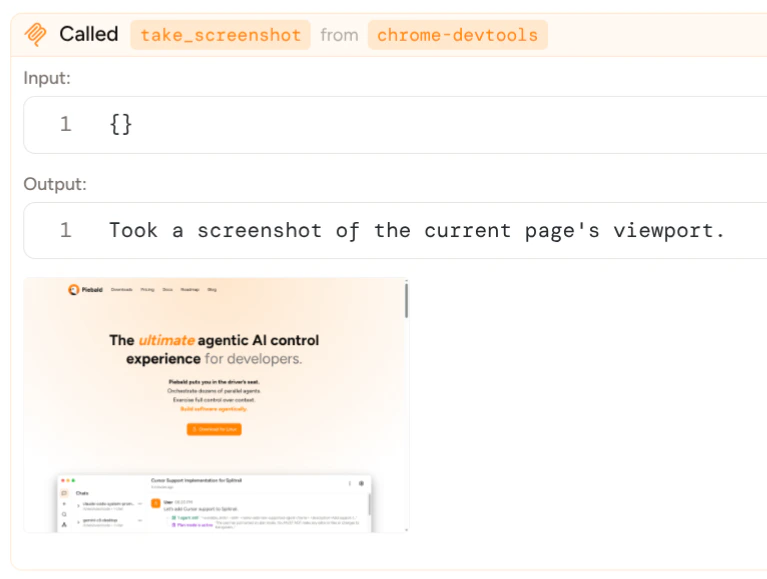
Some MCP servers, like Figma, Playwright, or Chrome DevTools, ship tools that return images (e.g. screenshots of web pages or design exports).
Piebald supports images returned by these tools and displays them in the tool call widget between the input and output. You can click on them and switch between them as you can in the message input.
#### Images returned by MCP tools
Some MCP servers, like Figma, Playwright, or Chrome DevTools, ship tools that return images (e.g. screenshots of web pages or design exports).
Piebald supports images returned by these tools and displays them in the tool call widget between the input and output. You can click on them and switch between them as you can in the message input.